1. Configure Google Cloud Platform
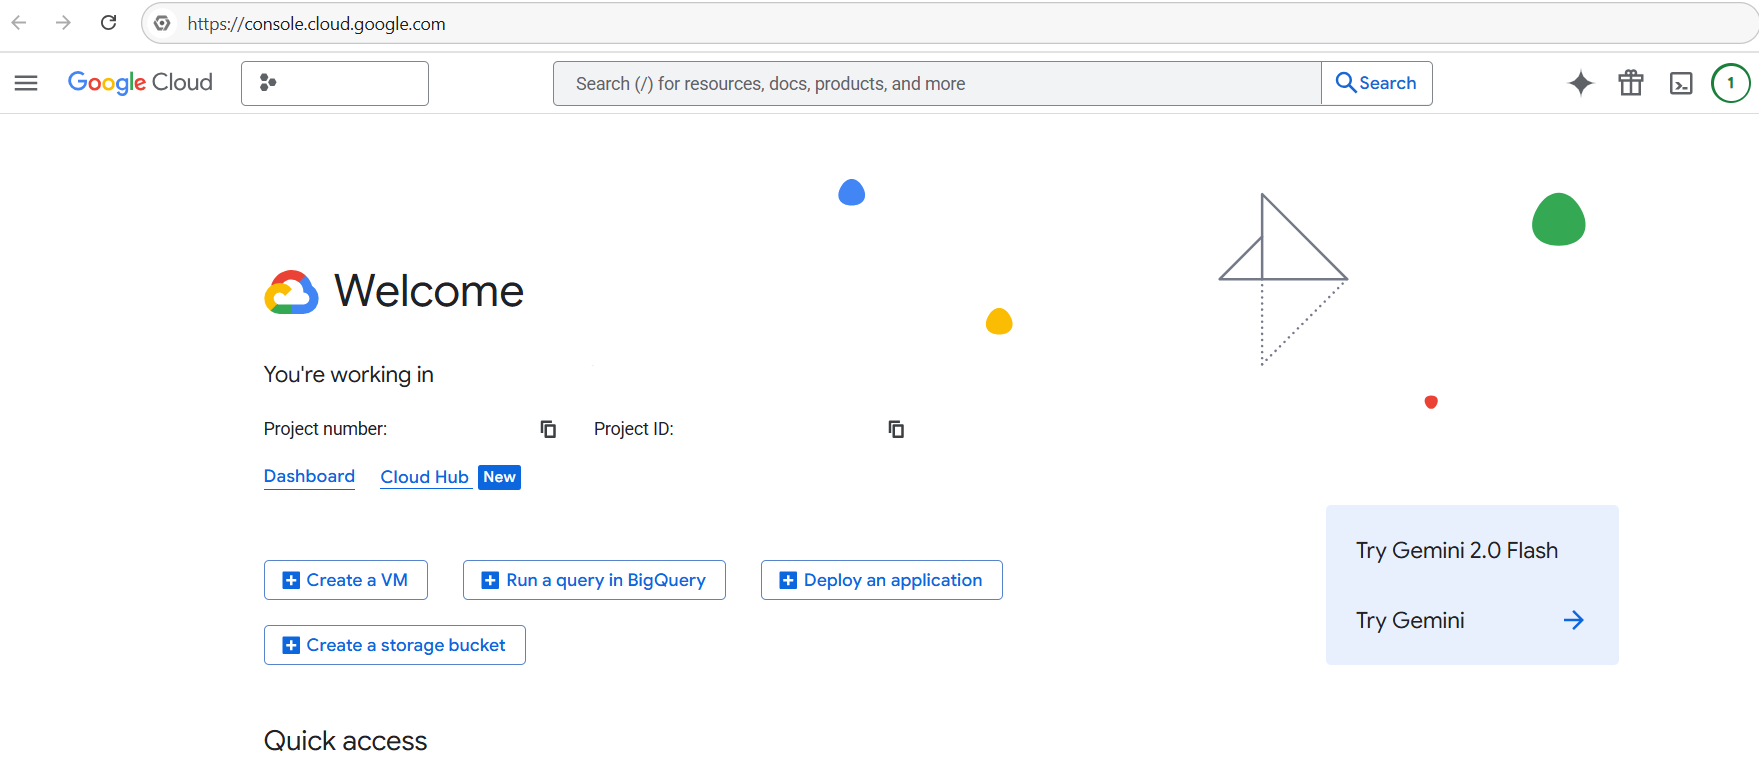
Go to Google Cloud Console using the provided link to access Google Cloud. (it's Free)
You'll need a Google account to access Google Cloud Platform. If you don't have one, create it first.
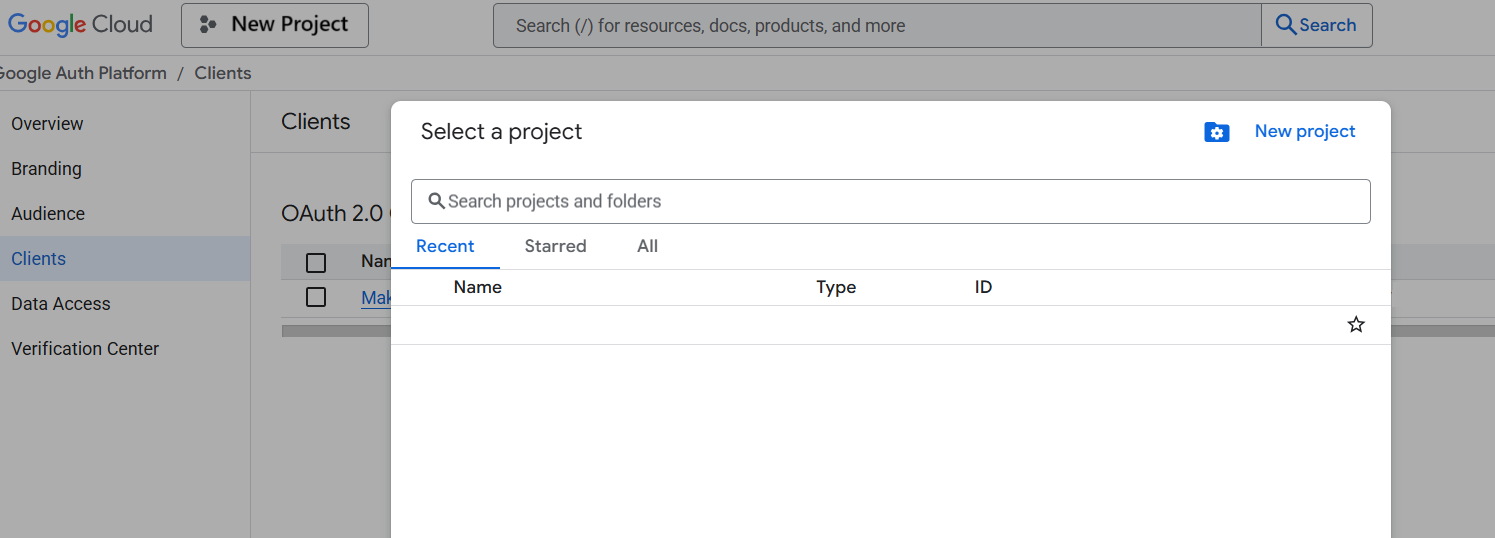
2. Create a new project
Click "New Project" in the Google Cloud Console
Name it (e.g., "Make Personal") and click "Create", then "Select project"
Choose a descriptive project name that you'll recognize later. This will help you identify this project among others in your Google Cloud account.
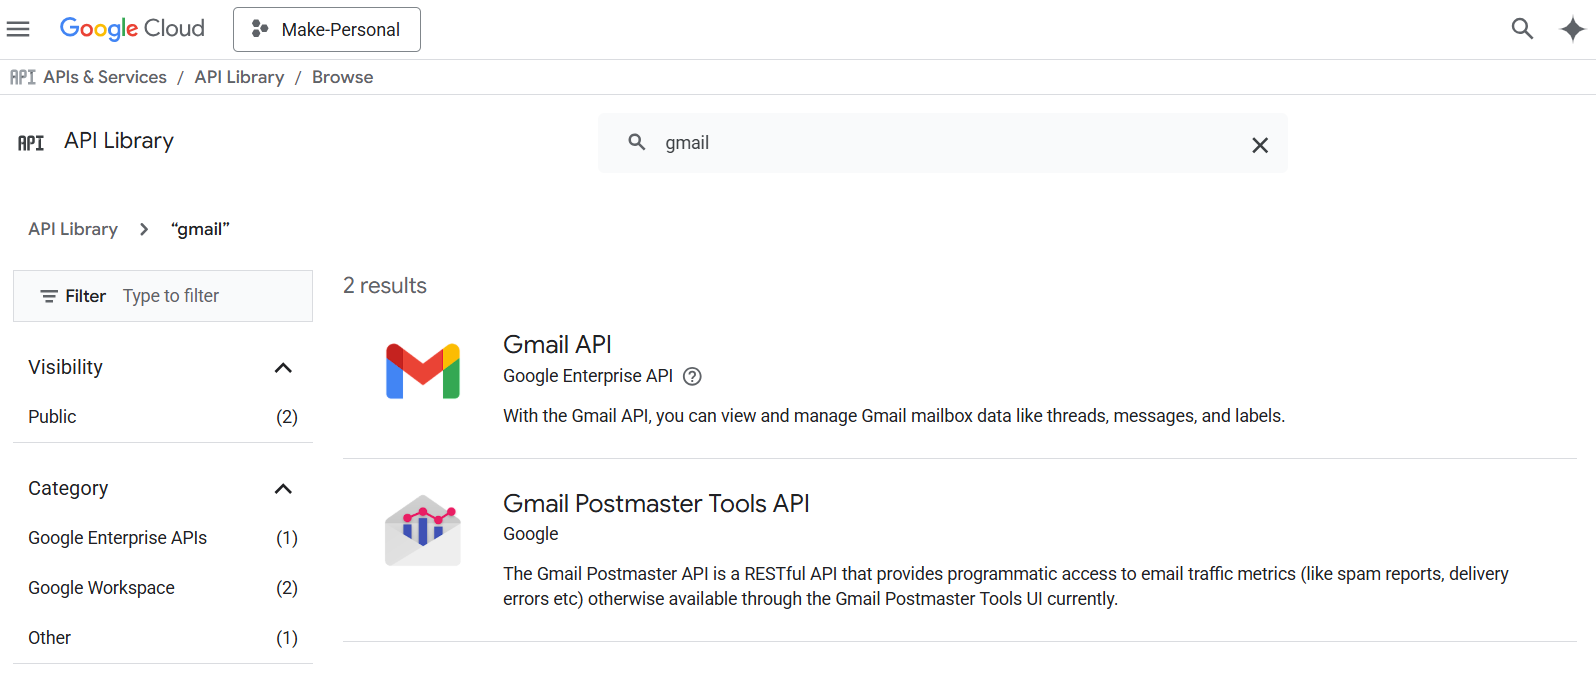
3. Enable the Gmail API
Go to "APIs & Services" → "Library"
Search for "Gmail", select it, and click "Enable" (wait for confirmation)
The API Library contains all Google APIs. Make sure you select the Gmail API specifically, not other email-related APIs.
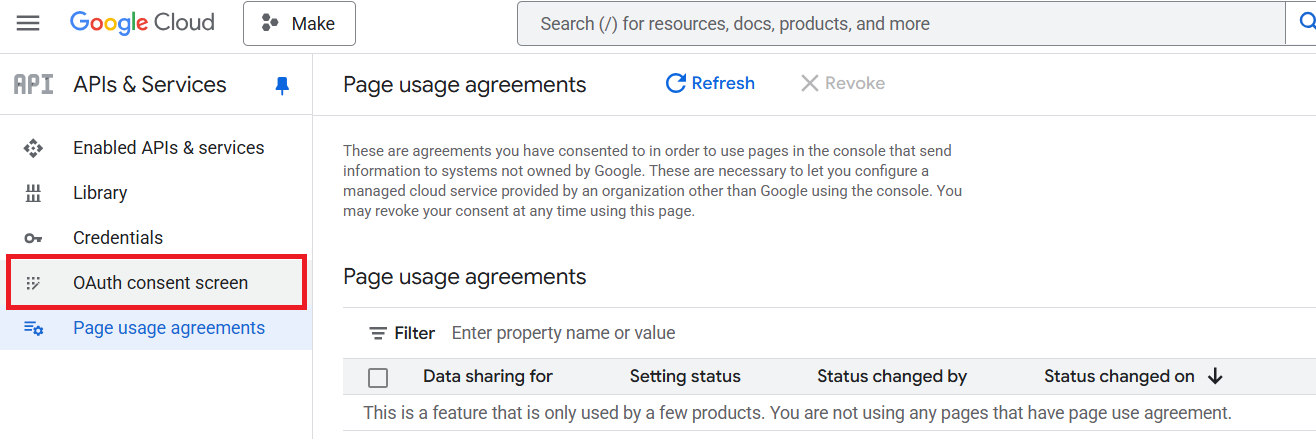
4. OAuth Consent Screen
🔸Don’t worry about skipping Credentials — it will auto-complete later.
🔸The left-side menu will update with new sections:
🔸Overview, Branding, Audience, Clients, Data Access, and Verification center.
🔸Some of these sections will be configured in order.
The OAuth consent screen displays a new menu. Configure it from here.
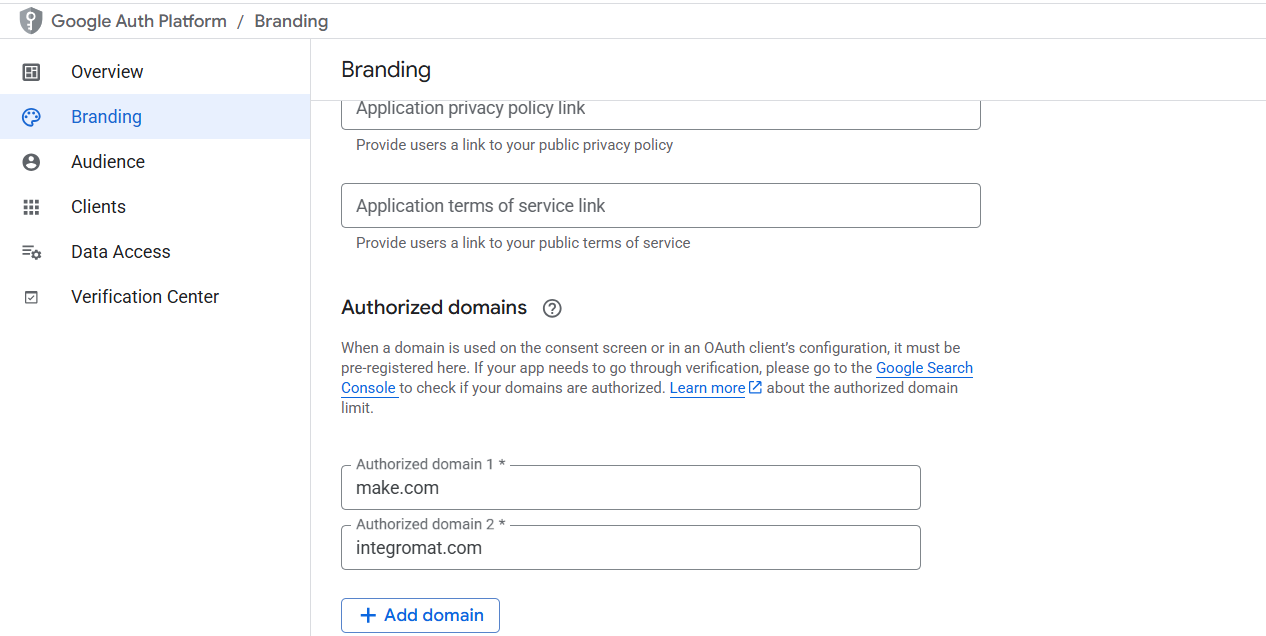
5. Branding
1.Authorized domains: add make.com and integromat.com
2.Developer contact: your personal email
Adding both make.com and integromat.com domains ensures compatibility with Make (formerly Integromat).
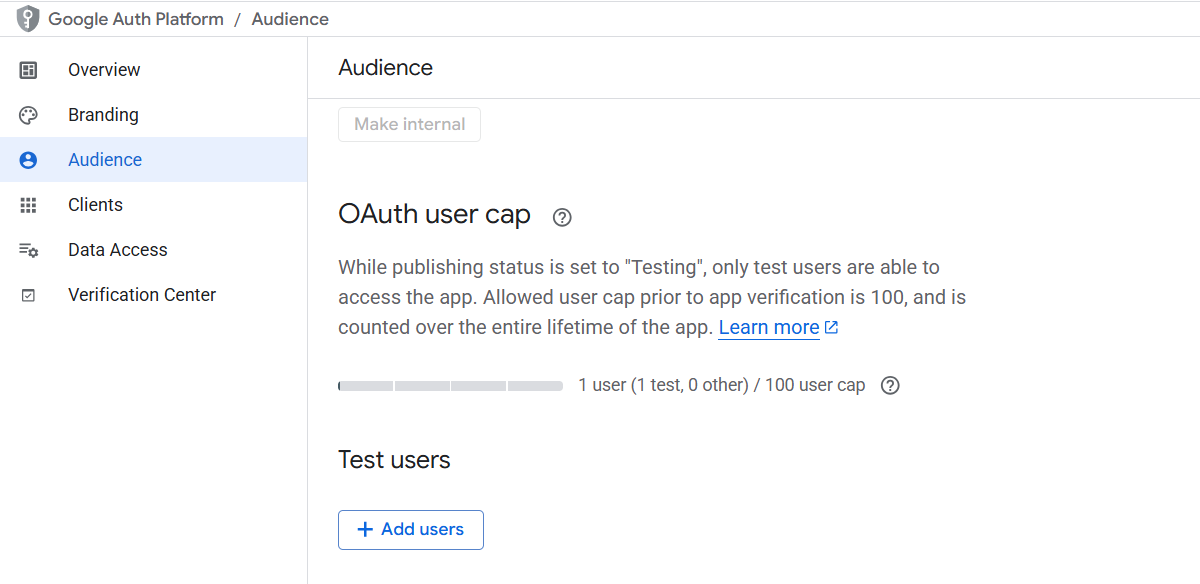
6. Audience
1.In the "Test users" section, click "Add users"
2.Add your Gmail address as a test user
Since this is an external app in test mode, only explicitly added test users can authenticate with it.
7. Clients
Create a Client -> OAuth client ID
1.App type: "Web application"
2.Name: "Make Personal"
3.Leave JavaScript origins blank
4.Authorized redirect URI: https://www.integromat.com/oauth/cb/google
Save
Make sure to enter the redirect URI https://www.integromat.com/oauth/cb/google.
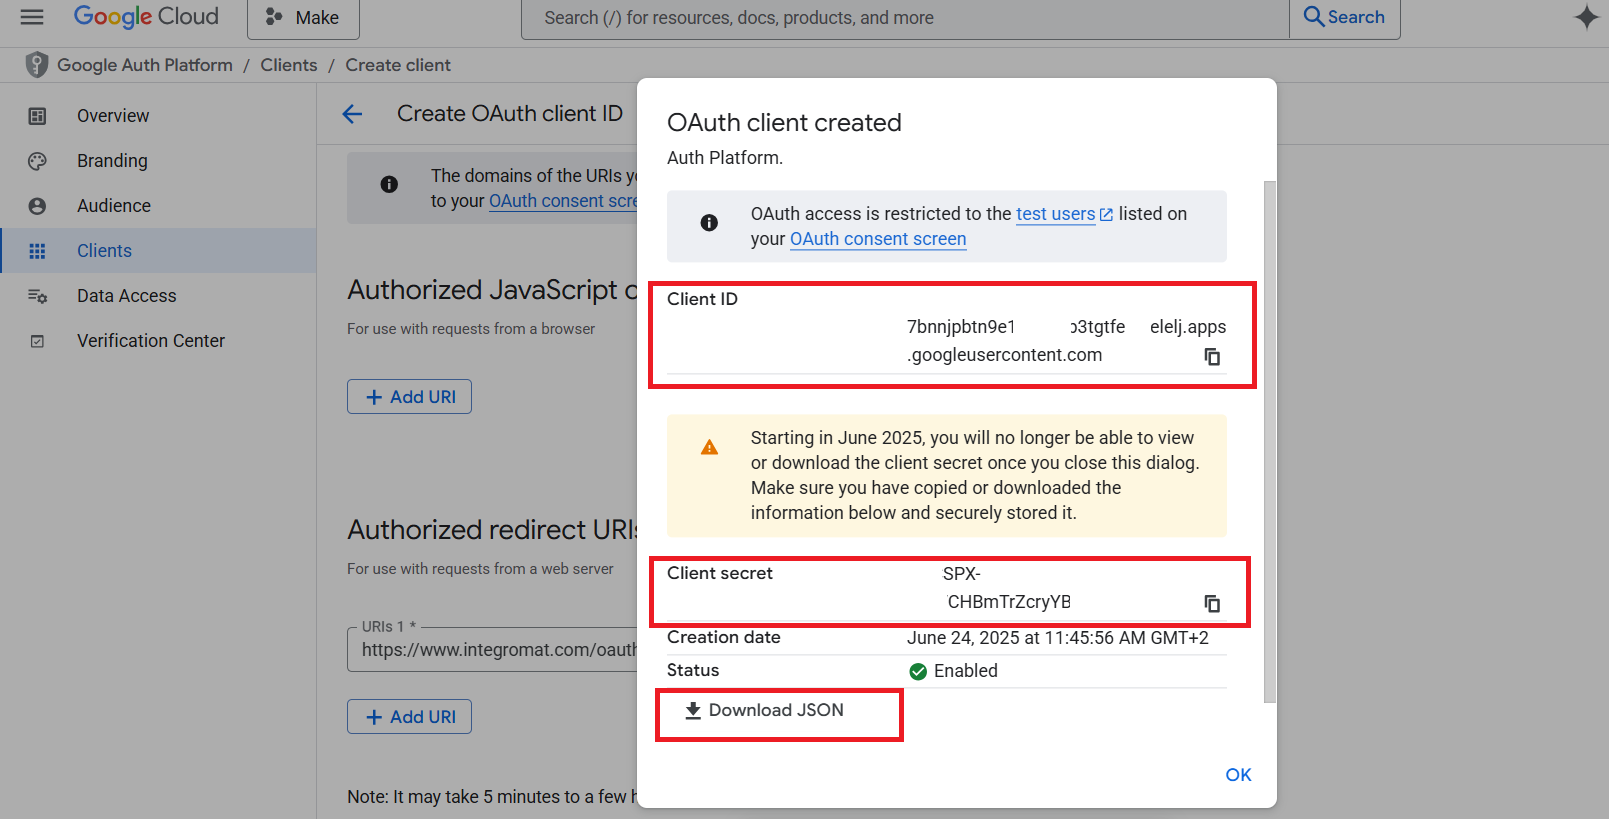
8. OAuth Client Created
A pop-up will appear with information you need to copy.
1.Copy the Client ID and paste it into a .txt file.
2.Copy the Client Secret as well. It won’t be shown again.
If you lose it, you’ll have to come back to this step and generate a new one.
Optionally, download the JSON file and save it in a safe place.
This step is important because the Secret ID won’t be displayed again.
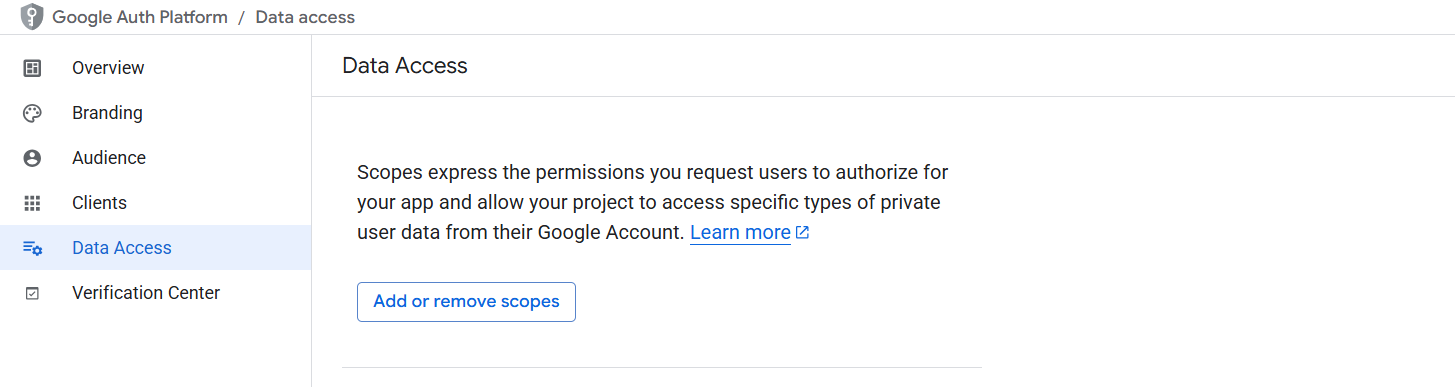
9. Data Access
1.Click "Add or remove scopes"
2.Filter for "Gmail"
Select the suggested scopes:
- 🔸Read,compose and send drafts and mails
- 🔸If in doubt, select all scopes — the official docs don’t specify
Scopes determine what your app can access. Try to select the permissions you actually need for your Make scenarios.
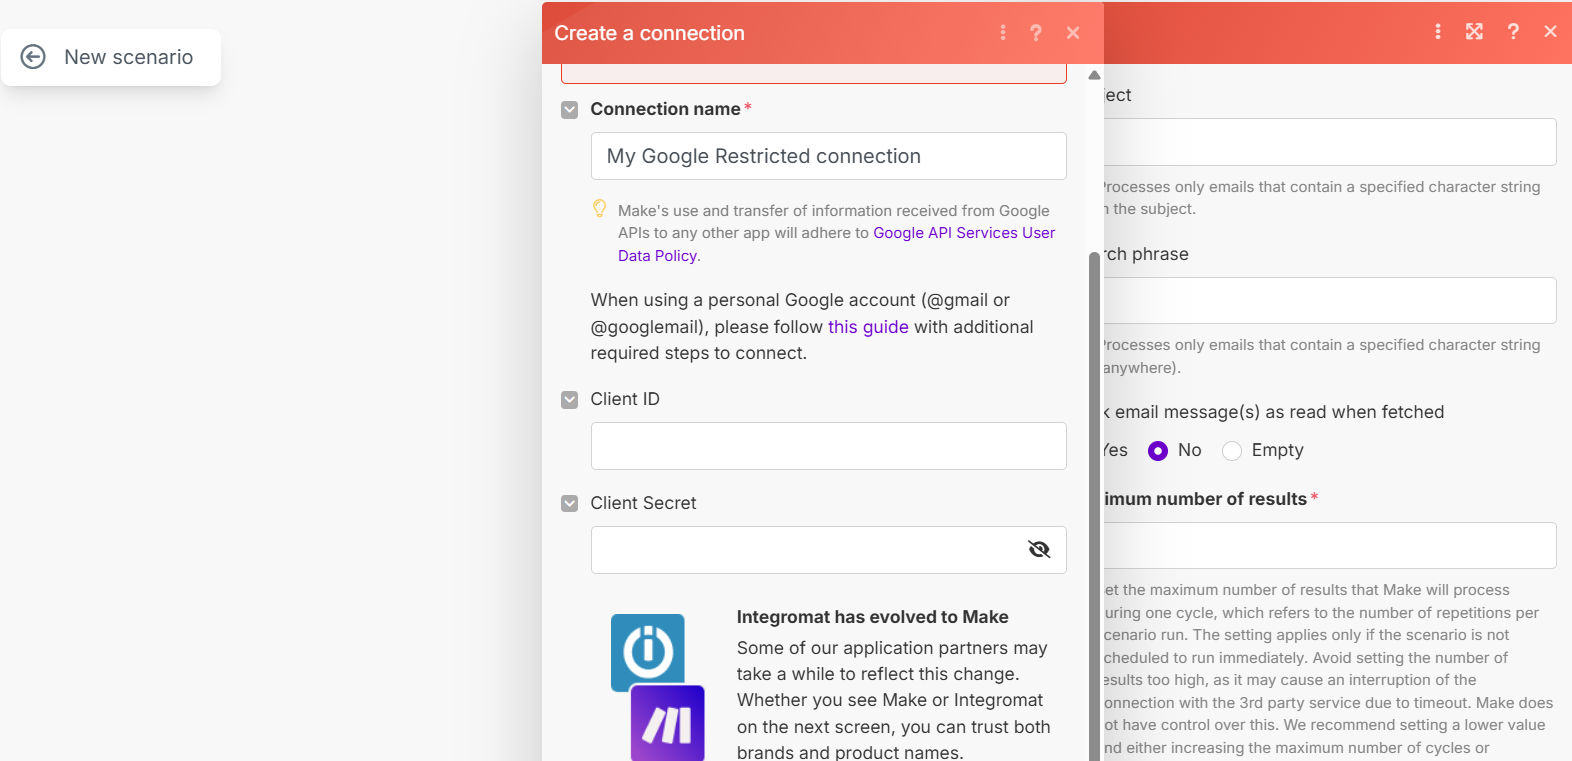
10. Return to Make
Go to Gmail connection screen in Make
1.Open "Advanced settings"
2.Paste your Client ID and Client Secret
Never share your Client ID and Client Secret with anyone. These are sensitive credentials that grant access to your Google account.
11. Sign in and test the connection
Click "Sign in" in Make
Google will warn the app is unverified → click "Continue anyway"
Approve all permissions → click "Continue"
Once validated, Make will confirm connection
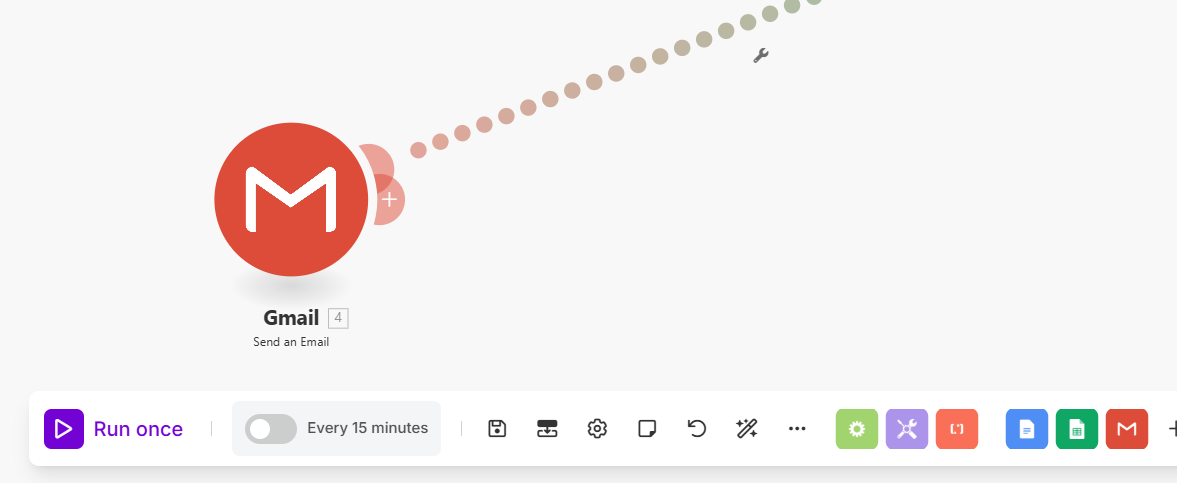
Run a test module (e.g., send an email) to confirm it works
Congratulations! You've successfully set up Google Cloud Platform for Make. You can now use Gmail in your Make scenarios.
Setup Complete!
You've successfully configured Google Cloud Platform for Make integration. You can now use Gmail in your Make scenarios.